

How Does Genie Plus Work at Disney World?
/
How to Use Disney Genie+ at Disney World
Disney Genie+ is Disney World’s new skip-the-line system, replacing FastPass at the end of 2021. Naturally, there has been a learning curve with Genie+, as it works in a completely different manner to FastPass. The good news is, utilized correctly, it is a fantastic system that can allow you to essentially have a wait free day! I’m going to teach you how to do just that with the step-by-step guide you’ve been wishing for.
Genie+: The Basics
Let’s talk terminology, because the most confusing part of learning how Genie+ works at Disney World is wrapping your mind around the terms used.
Disney Genie - A free virtual itinerary planner located on the My Disney Experience app
Disney Genie+ - A pay to skip the line system also accessed on the My Disney Experience app
Standby Line - The classic line for a ride where you wait your turn
Lightning Lane - The fast lane at each ride accessible by making a booking using Disney Genie+
Individual Lightning Lane - An à la carte booking for a ride NOT included in the Disney Genie+ service. Typically used for new(er) rides. You pay individually to skip the lines for these rides.
Virtual Queue - Also NOT part of Genie+. A virtual queue allows you to go about your day in the parks while waiting in line virtually for free. Another strategy used for new rides.
The bottom line…
Disney Genie+ allows you to book time slots for using Lightning Lanes on eligible rides throughout the park, allowing you to skip standby lines which, for some rides, can reach several hours in length during busy seasons!
Which rides are included in Genie+?
Rides eligible for Disney Genie+ Lightning Lane bookings are denoted on the My Disney Experience App under the Tip Board. Several rides have been excluded in each park for a variety of reasons. The most important exclusions you need to know are those that require a separate Individual Lightning Lane purchase. These are typically the new rides.
Rides that require an Individual Lightning Lane purchase or Virtual Queue
The following rides require an Individual Lightning Lane purchase and are ineligible for Genie+ at this time: Seven Dwarfs Mine Train and Tron at Magic Kingdom, Guardians of the Galaxy: Cosmic Rewind at Epcot, Star Wars: Rise of the Resistance at Hollywood Studios, and Flight of Passage at Animal Kingdom.
Tron and Guardians also utilize a free virtual queue at this time.
What order should I book Lightning Lanes, Virtual Queues and Individual Lightning Lanes?
Virtual Queues sell out in seconds. Literally. Seconds.
Lightning Lanes need to be booked fairly quickly, but not as quickly as virtual queues.
Individual Lightning Lanes can ONLY be booked at 7am by Disney resort guests. All other guests must wait until park opening to book. Even if you are a resort guest, book these last as you will have less competition.
So officially, the best booking order at 7am is:
Virtual Queue -> First Lightning Lane -> Individual Lightning Lane
Which rides should I prioritize when booking Lightning Lanes?
Certain eligible rides sell out faster than others, so it pays to know which ones you should select first, to ensure you are able to skip those lines. Those rides, in order of (typical) popularity are;
Magic Kingdom: Peter Pan’s Flight, Jungle Cruise, Space Mountain, Big Thunder Mountain Railroad
Epcot: Remy’s Ratatouille Adventure, Frozen Ever After, Test Track
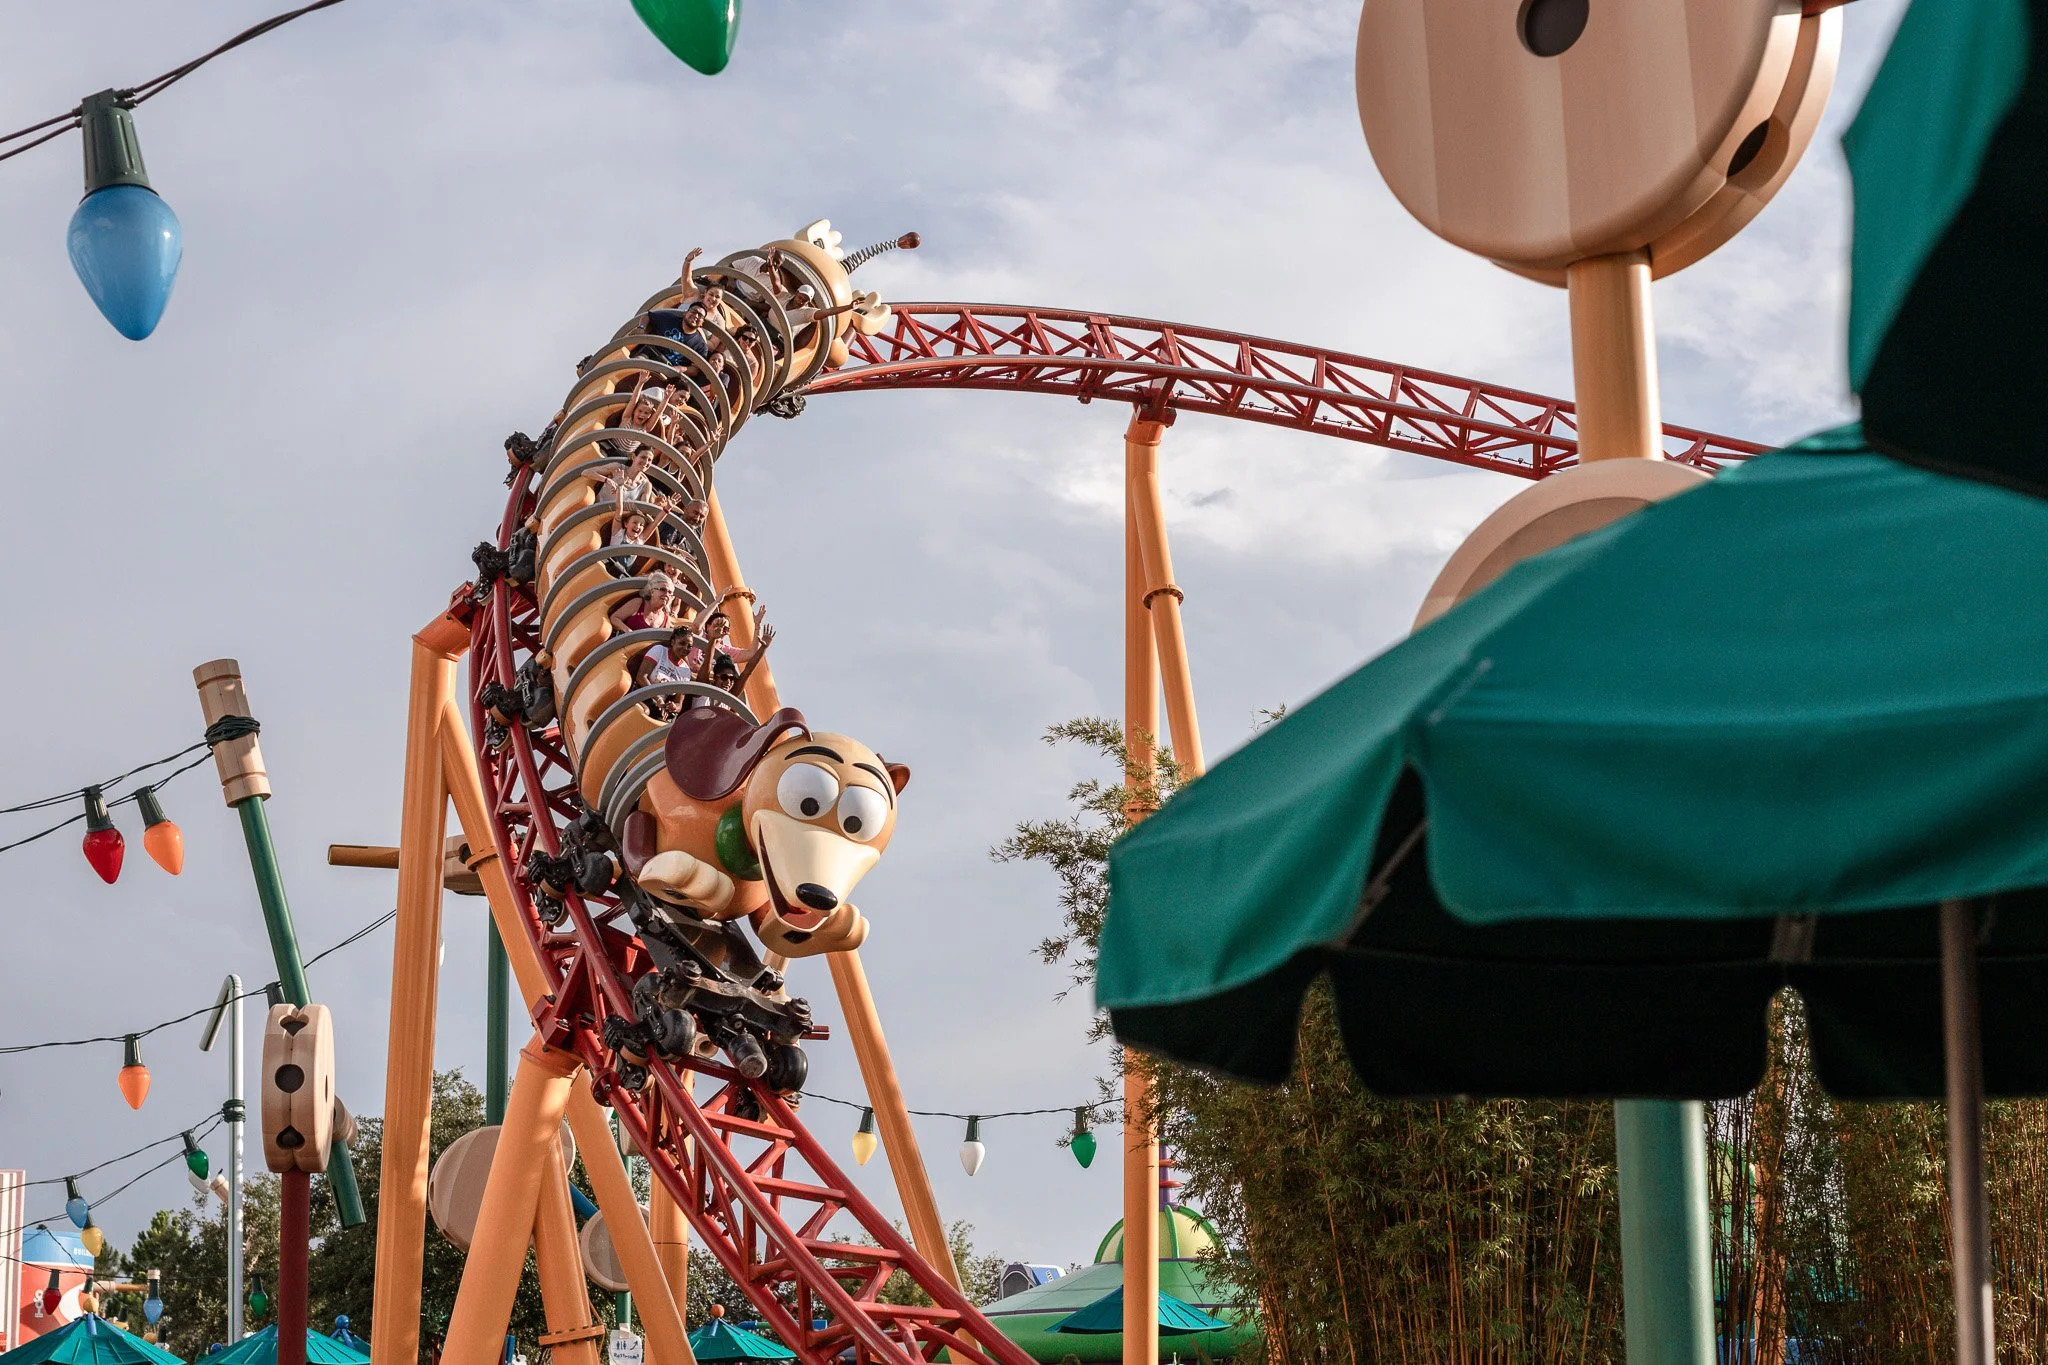
Hollywood Studios: Slinky Dog Dash, The Twilight Zone Tower of Terror, Millennium Falcon: Smuggler’s Run
Animal Kingdom: Na’vi River Journey, Kilimanjaro Safaris
How many Lightning Lanes can I book per day with Genie+?
That’s entirely up to you and your skill level with Genie+! Disney advertises that you can skip 2-3 lines using this system per day. However, this is a bare minimum. It’s possible to skip 10+ lines in a day if you know how to use the system to your advantage. On our recent (and very leisurely) visit to Magic Kingdom, we skipped 6 lines (and we weren't trying very hard).
Note that you can only book a Lightning Lane for a particular ride once per day. So, if you want to ride something twice, you’ll have to hop in the standby line.
How to use Genie+ at Disney World
Step 1: Purchase your Disney World park tickets
Okay. Perhaps this is the obvious first step. I’m looking to make this as easy as possible for you!
Tickets can be purchased on the Disney World website. Take note of the new 4-day, 4-park Magic Ticket. Should you purchase this, you can skip Step 2, as you will not require park reservations.
Step 2: Make theme park reservations
Theme park reservations are a relatively new requirement, but without them you will not be admitted to your theme park (unless you have purchased a ticket that does not require them). You also won’t be able to purchase Genie+ without them.
Park reservations can be made on the Disney World website at time of ticket purchase or after. Don’t worry if you aren’t fully settled on your Disney World itinerary. Reservations can be modified after the fact.
Step 3: Download the My Disney Experience app
The My Disney Experience app is the hub of your vacation planning. It will contain your hotel reservations (if staying on property) with a virtual room key, your dining reservations, your Photopass photos, and both Disney Genie and Disney Genie+.
Basic Disney Genie is a service offered through the My Disney Experience app. It acts as an itinerary planner, making suggestions for rides and dining experiences you might enjoy based on your interests. It is a FREE service, unlike Disney Genie+, which is an upgrade.
Get familiar with the My Disney Experience app. Genie+ bookings are made through the “Tip Board”. Locate this either by clicking the + at bottom centre of the app and selecting “View My Genie Day and Tip Board”, or by clicking the ☰ icon on the far right and “Tip Board” at the top left.
Step 4: Prioritize and organize your day using Disney Genie
The free Disney Genie service allows you to organize the Tip Board with your preferred rides at the top. So, this is where we start to get strategic. Think about which rides are most important to you and your party members at each park. We are going to make it so those rides are the most easy to select on your Tip Board by bumping them up the list.
To do so, select My Disney Genie Day (easily accessible as “My Day” at the top of your Tip Board). Begin setting up your day, BUT, when selecting attractions, only select the first ride you wish to book a Lightning Lane for. This can be modified later on in your day.
Example: Let’s say I’m going to Hollywood Studios today, and I want to ride Slinky Dog Dash. I know this is a popular ride that will sell out earlier than others, so I’m going to make this my first priority. When setting up my day, I select ONLY Slinky Dog Dash under the attractions tab. It then shows up at the top of my Tip Board and I can access it quickly at booking time.
Step 5: Purchase Disney Genie+
Genie+ can only be purchased on the day of use. Purchase can be made by clicking the Genie+ icon at the top of the Tip Board. Ensure all members of your party have a valid theme park reservation for that day or you will not be able to purchase. You will be able to purchase as early as midnight before your park day, but this is generally unnecessary. The service rarely sells out and when it does, on Disney World’s busiest days, it tends not to sell out until 9 or 10am. I recommend purchasing Genie+ at 6:45am on the day you intend to use it to give yourself time to prepare to make your first booking.
Starting June 27, 2023, pricing for Genie+ will vary between each of the four parks and you will need to choose a single-park option or a multiple-park option (for park hopper tickets). Multiple-park prices are expected to match the most expensive park of the day.
Step 6: Make your first Lightning Lane selection at 7am sharp
Booking is competitive (and a little fun). You will be booking your first Lightning Lane selection at the same time as many other park goers… and there are only so many slots per hour. So, you need to be fast.
Log into your account at 6:58am and start to refresh your screen by pulling down until the icon for “LL Disney Genie+” under your desired ride becomes active. When it does, click it as quickly as possible to secure your spot. The first Lightning Lane of the day will not tell you its return time until you have booked. All others will tell you the time before you click in and confirm it on the second page.
You will be given an arrival time for that Lightning Lane. You have a one hour window around that arrival time to use your Lightning Lane (plus typically a 15 minute grace period if you are running late).
Example: I log in to the My Disney Experience app at 6:58am and begin to refresh my screen until 7am. I immediately click the first Disney Genie+ booking that pops up for Slinky Dog Dash. I’m given a return time of 9:15am once booked. I can now use the Lightning Lane to ride Slinky Dog Dash anytime between 9:15am and 10:15am (plus a grace period).
Step 7: Continue to make Lightning Lane selections throughout your day
Once your 7am selection is booked, your next Lightning Lane can be booked either 2 hours after park opening, or after you have scanned in for the ride (whichever comes first). Be aware that some ride queues have TWO touchpoints and you will have to wait until you have scanned into BOTH before you can book your next Lightning Lane.
Beyond this, you may book another Lightning Lane every 2 hours or after you use your MOST RECENT booking.
Example: Hollywood Studios opens at 8:30am today, so my next booking would either be at 10:30am OR as soon as I’ve used my Lightning Lane for Slinky Dog Dash (whichever happens first). I scan into Slinky Dog Dash at 9:30am. I immediately start attempting to book my next Lightning Lane while walking through the queue, but keep receiving an error message. I then stumble upon a second touchpoint. After scanning, I am able to book Millenium Falcon: Smuggler’s Run for 10:15am.
Bonus! Step 8: Stack like a pro
“Stacking” is booking a Lightning Lane later in the day, then booking additional Lightning Lanes every 2 hours for around that same timeframe. You can use this technique to arrive at the park late in the day and essentially hop from ride to ride with no wait times! It is an excellent strategy for people starting the day late OR taking a midday break.
Example: The following day, I decide I will sleep in, and head to Epcot at 2pm. I book a Lightning Lane at 9am for Remy’s Ratatouille Adventure for 2pm. I select my next Lightning Lane at 11am for Frozen Ever After for 2:30pm. At 1pm, I select a third Lightning Lane for Test Track for 3pm. When I arrive at the park, I am able to ride 3 rides back to back without waiting.
The Ultimate Pro-Tip: Modifying Lightning Lane bookings
Ok. So now you’ve got a basic knowledge of how to use Disney Genie+, but here’s what is going to take you from Genie+ novice to expert; Learn how to modify a Lightning Lane booking.
By now you’ve probably realized that in order to maximize your use of Genie+, you will want to be booking rides as soon as you are able throughout the day. When you scan into a ride, immediately check if you can book another. Otherwise, set an alarm on your phone to remind you to book every 2 hours. The downside of Genie+ is you don’t get to pick your ride time, you get the next available time. Sometimes this means the time is earlier than you would like. Sometimes it’s later. So, do you need to wait to book until the return time YOU want comes up?
Book it.
Then modify it.
The beautiful thing about modifying is that the clock does NOT reset on your 2 hour window when you change your reservation. You can essentially book whatever is available just to start the clock, and then modify the booking to your liking. This can either mean pushing the booking back as the return times naturally become later in the day, or waiting for an earlier time to pop up (either because someone else has cancelled it or because Disney added a few additional bookings like magical pixie dust). You can also change your booking to a different ride entirely!
Example: I’m at Magic Kingdom today. I booked Peter Pan’s Flight for 11:30am as my first selection. It’s 11am and, due to the 2 hour rule, I’m able to book my next Lightning Lane. I would like to ride Jungle Cruise after Peter Pan’s Flight. However, the current return time for a Lightning Lane for Jungle Cruise is 3pm. I could choose to stack this ride in the future, wait 2 hours and book something else, but I’m in the park now, and I want to ride something without waiting in line! I also want to get the clock started on counting down my next 2 hours. I book Jungle Cruise for 3pm, then return to my booking, click Modify, and see that the return time now shows 3:15pm, which is okay as I have not confirmed this time. I refresh until, randomly, a return time for 12pm pops up. I grab this reservation and confirm. My 2 hour window has not been reset, and (even better!) I will now be able to book my next Lightning Lane as soon as I scan into Jungle Cruise.
I hope this guide helps you understand how Genie+ works at Disney World. For a detailed itinerary, see my post on Disney World with a baby. And to save a potential 50% on a Deluxe Disney hotel stay, read Renting DVC Points at Disney World! If you have any additional questions, please leave them in the comments section below!
Wish Granted!
Hill XO
If you found this post helpful to you, Pin it!
